
Smoke in Motion

Creative Project

Easier than it seems

Inspired by some artwork I found on deviantart.com, I decided to photograph smoke in motion. I had seen images like these in the past and had, at the time, no clue how it was possible. But with some tips I found online, I too was capturing smoke in motion. This is one of the few series I have done where I found that using photoshop to enhance the images was practically a necessity. But I am getting ahead of myself.

My layout, after some trial and error, was rather simple. All you need is a black background (a piece of black foam board works best), a camera, a tripod, an external flash, a dark room, and some incense. Now I found myself some helpers (two to be precise), which speed up the process and improved the results. After setting up the black board behind the lit incense, I positioned my camera and tripod facing them both. Then one assistant held my flash to the left side of the incense smoke. The third person served the simple job of turning off the lights the second I was ready to make an exposure.

So basically the lights go out, I click to take the picture (with a shutter speed of 0.8 sec, an ISO of 800, and f/7.1) and as soon as my first assistant hears the click, they release the flash. The key to the whole process is a dark room and the flash hitting the smoke from the side. This way the black background stays black and the smoke is lit up for an instant, forever frozen in time. While the lights are on, you wait patiently for a good smoke formation and make sure to focus (it helps to focus on the actual incense and then just aim up to the smoke above). 

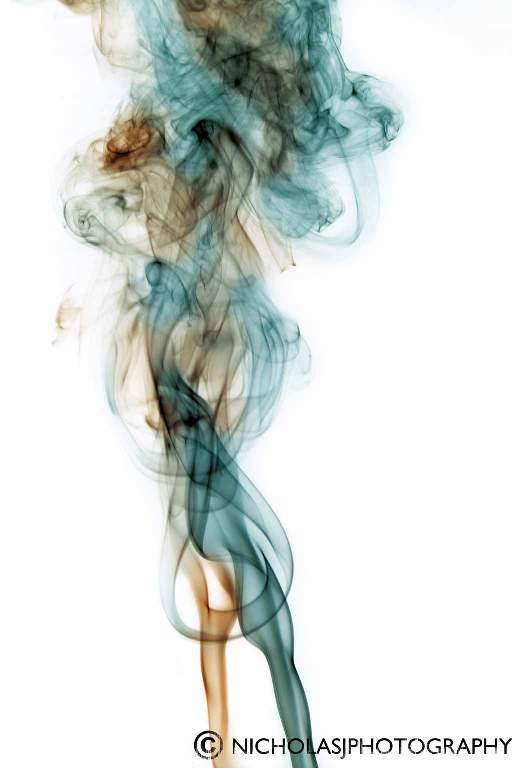
Now as I said in the beginning, Photoshop is very important. The images, which are moderately interesting, are lacking quite a bit to look like the final product. Some basic tweaks are to bring up the darks and lights in the levels menu. Then use your burn tool to darken any parts of the background so that they are completely black. Finally, you can fun by either inverting the whole image (to make the smoke black) and/or going to the color balance menu and changing the colors. In the case of the image seen here, I did both. 

I look forward to taking more images of smoke as well as water droplets very soon. 

About the Author

Nicholas Klein

Founder and visual artist, specializing in all aspects of a businesses presence from imagery and video to graphics and web. A graduate of IPFW with a Bachelor in Fine Arts, Concentration Photography as well as an Associates Degree in Business. His personal photography works are focused on landscape, travel, and aerial photography.